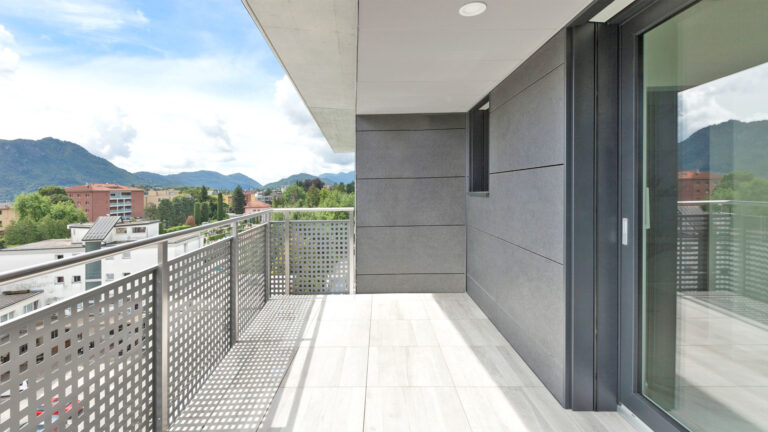
Concrete is one of the strongest and most durable materials humans have created. This is probably why we use it for almost everything. Every home, every skyscraper, every road, and almost any other construction building has concrete in it for stability and structural integrity. But, this material is not impenetrable and everlasting. There are a few things that can damage it and reduce its integrity. Water is the most common perpetrator. This is probably why you should consider permanently waterproofing your concrete balcony.
It is important to consider this because your balcony is constantly exposed to rain, moisture, snow, and other outside elements. I think it is especially important to consider doing this if you live in a colder and humid climate. The constant humidity in the air will cause mold to grow on the concrete which could damage it over time.
To help you with that, I decided to write this article and provide you with several tips on how to permanently waterproof your balcony.
Do you really need to waterproof it?
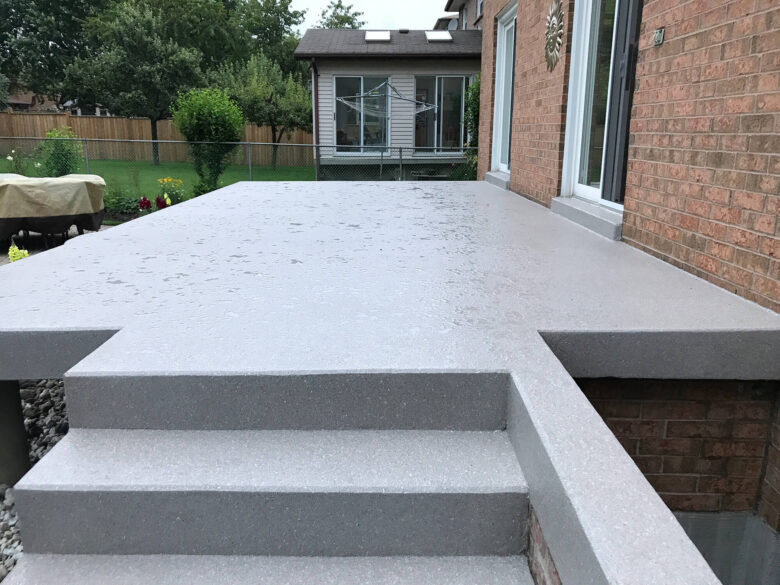
Before you can start working on this project, I think it is a good idea to consider where you need to start. Because this is an investment that will cost you money and a lot of time. Of course, that depends on whether you are going to this project by yourself or you are going to get professional help.
Either way, you will need to do some analysis to decide whether you will need to start on this project. For most new buildings and houses, the balconies are made of insulated concrete form which is already waterproof on its own. If your building is still quite new, I do not think there is a reason to do any of this.
However, if you have noticed cracks in the walls of the balcony, constant buildup of moisture or mold then you should definitely consider doing this.
Prepare the concrete
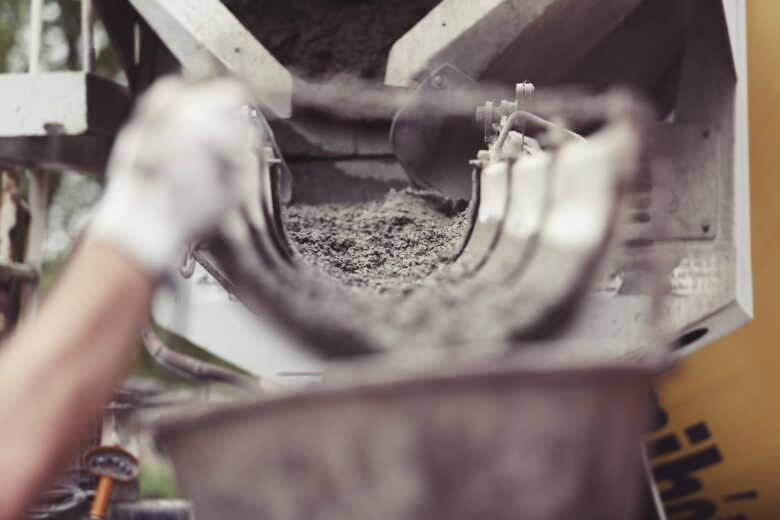
Before you can start using the waterproofing paint or sealer, you will first have to prepare the surface that you plan on working on.
The first thing you will need to do is fix all of the cracks. Otherwise, your sealing process will be unsuccessful. The paint is not durable enough to close an entire crack and prevent water from getting in it.
So, if you want this project to be successful, I advise you to either start caulking or patching. Whether you are going to be caulking or patching depends on the size of the hole or crack. If it is wider than half an inch, it is better to use concrete batching. It is smaller than that, you can easily close with caulking.
You also have to consider the smoothness of the surface. If the surface is too uneven and rough, you will not be able to properly apply the paint. To fix that, you will also have to do a little bit of grinding.
Clean the balcony
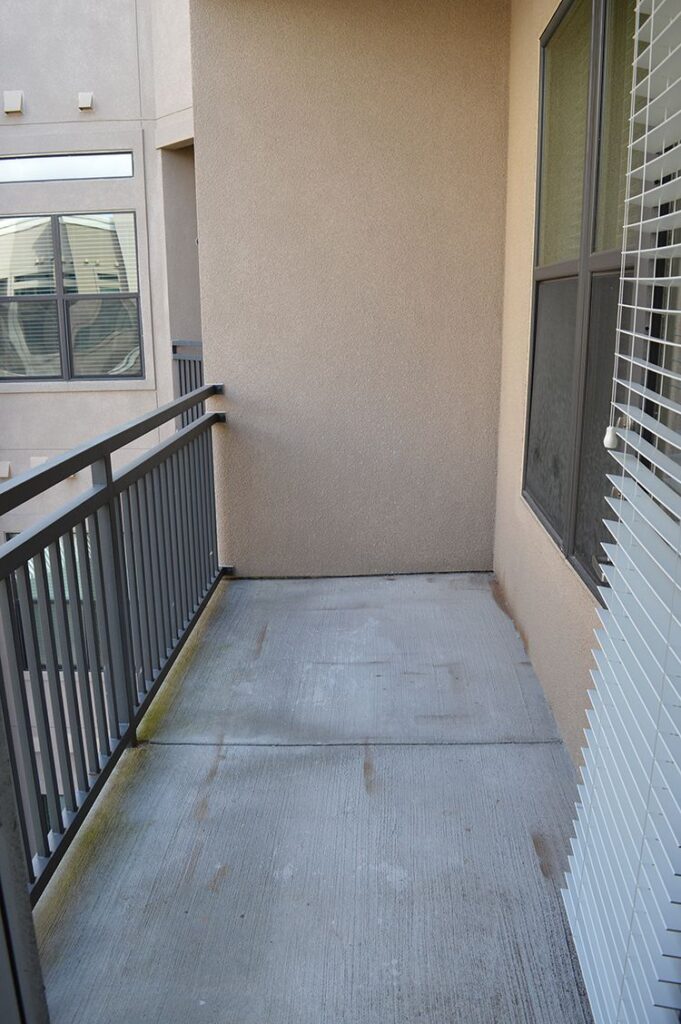
Once you are done with the whole/crack patching process, it is time to start cleaning get to prepare it for the sealer. If the surface is too dirty, the paint will not be able to stick to the material.
So, grab a hose and wash the walls of the balcony a few times. After that, I suggest that you grab a bucket of warm water and a bristle brush for cleaning. Make sure that you scrub everything thoroughly to ensure that any speck of dust has been removed.
Leave the balcony to drive for a few hours if it is warm outside or for a few days if it is cold.
After this, you can now finally start applying the waterproofing paint/sealer.
Apply the sealer
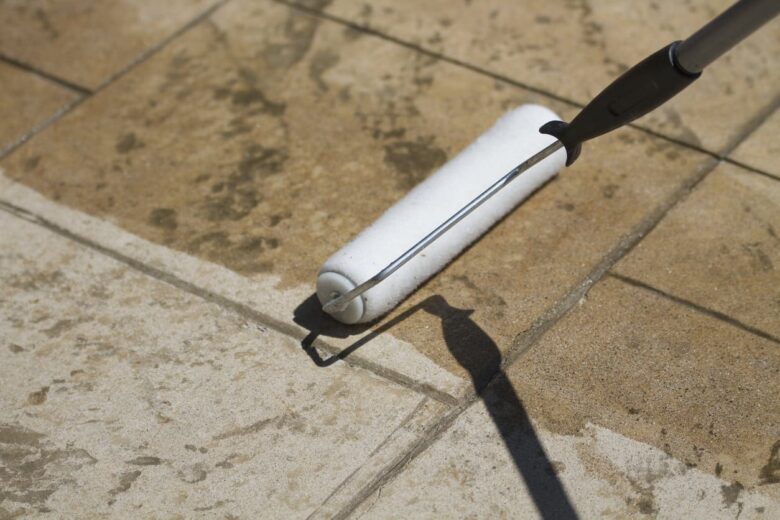
This is the most essential part of the process, but it is also quite simple. All you need is a low-pressure spray and a paintbrush. If you do not have a sprayer, you can do everything with the brush, but it will take a little bit more time.
Once you are ready, apply the first layer of the sealer of your choice. Once every single bit of surface is covered, ecoformeurope.com recommends that you wait anywhere between 6 to 12 hours. How much you are going to wait will depend on how warm it is outside.
Once you are certain that the balcony is dried, it is time to apply the second layer of the sealer.
After that, you should be done. To let the second layer of the sealer sink in and dried, I suggest waiting at least 24 hours, just to be safe. After that, I suggest taking the hose again and spraying all over the balcony and see whether you have covered the entire surface of the balcony.
If you notice any patches that soak and get wet, I recommend that you wait another 5-6 hours and then apply another layer on the parts of the wall that still get wet.
Make sure you have proper drainage

Since your concrete balconies are now completely waterproof for the next two, three, or maybe even five years, the water will start collecting on the floor of the balcony. To prevent that from happening, you will have to ensure that you have proper drainage on the floor. Otherwise, you could run into some serious problems.
If you already have a drain, I suggest that you thoroughly clean it and check whether it can consistently drain water.
If you do not have one, it is probably a good idea to build one. Although, if you do plan on building one, I suggest that you do that long before you start applying the waterproof seal. Once you have a drain installed on your balcony, only then you should start working on making it waterproof.
As you can see, making your concrete balcony permanently waterproof is not exactly very difficult. If you read these tips and follow the right steps, I assure you that your project will be very successful and you will not have any kind of trouble.

